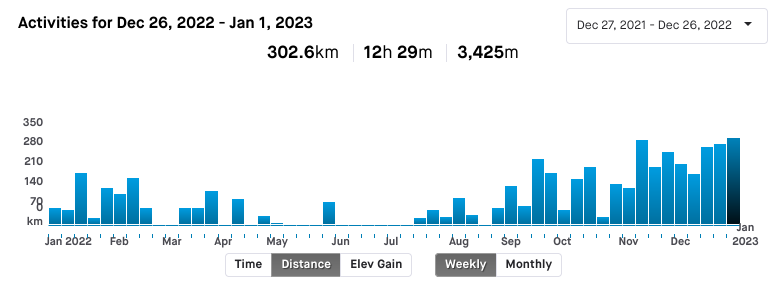
It's time to wrap up my year in cycling. I've ridden 4709km
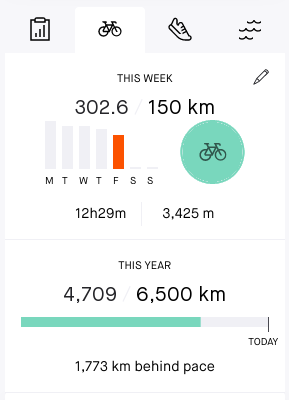
which is less than my goal of 6500km, but considering my mental and physical health this year, I'm pretty happy with it. 302km for this week alone is my biggest week ever.
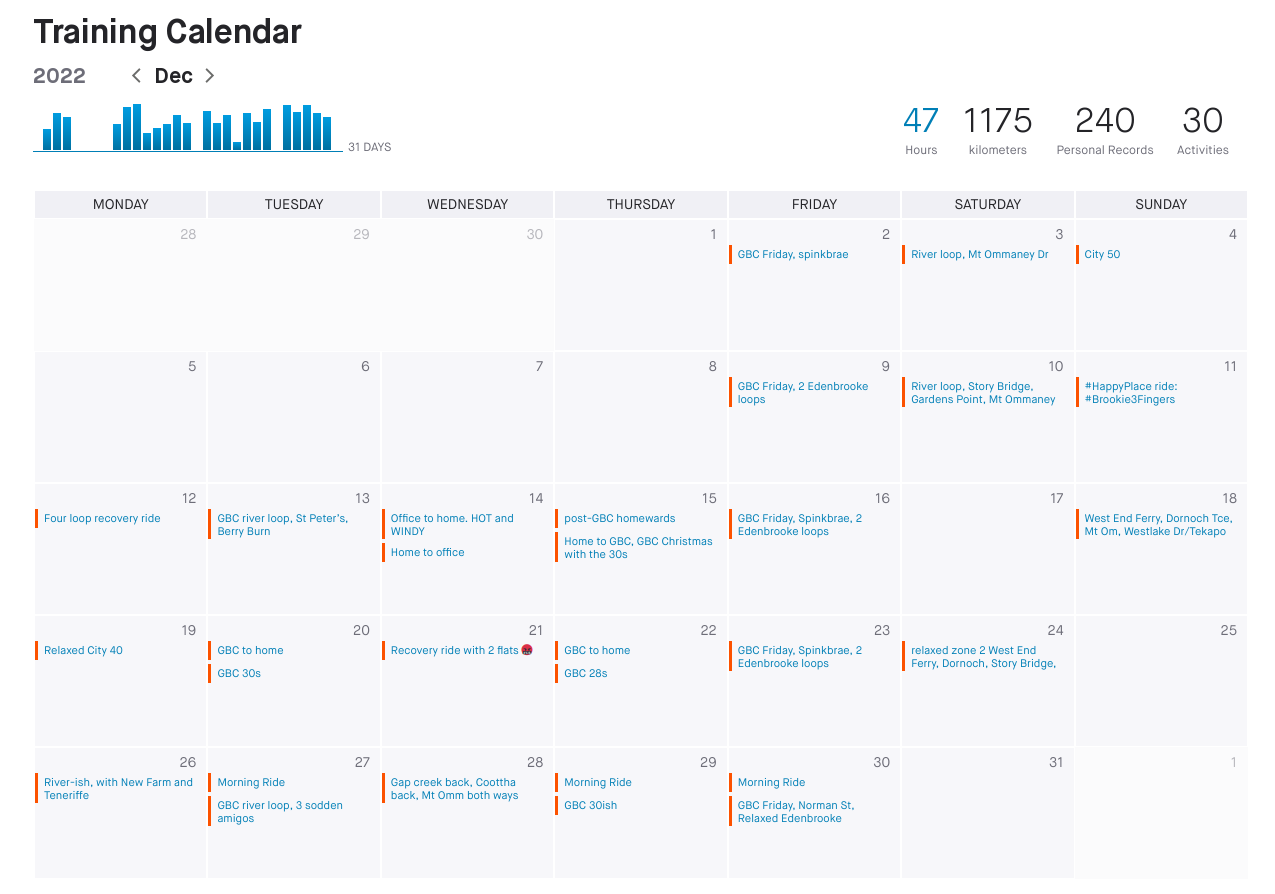
December 2022 has been a big month in general. With the exception of the 1st when it was _rather_ wet, the 5th and 6th when I went to a conference (YOW! 2022) and the 7th-8th when C was ill with strep throat, I rode every day. After the school term ended I was able to take the time to ride to and from my now-regular bunch rides with the Graceville Bike Community (GBC) group, and found that I am indeed able to keep up with the slightly faster speed group (30km/h average).
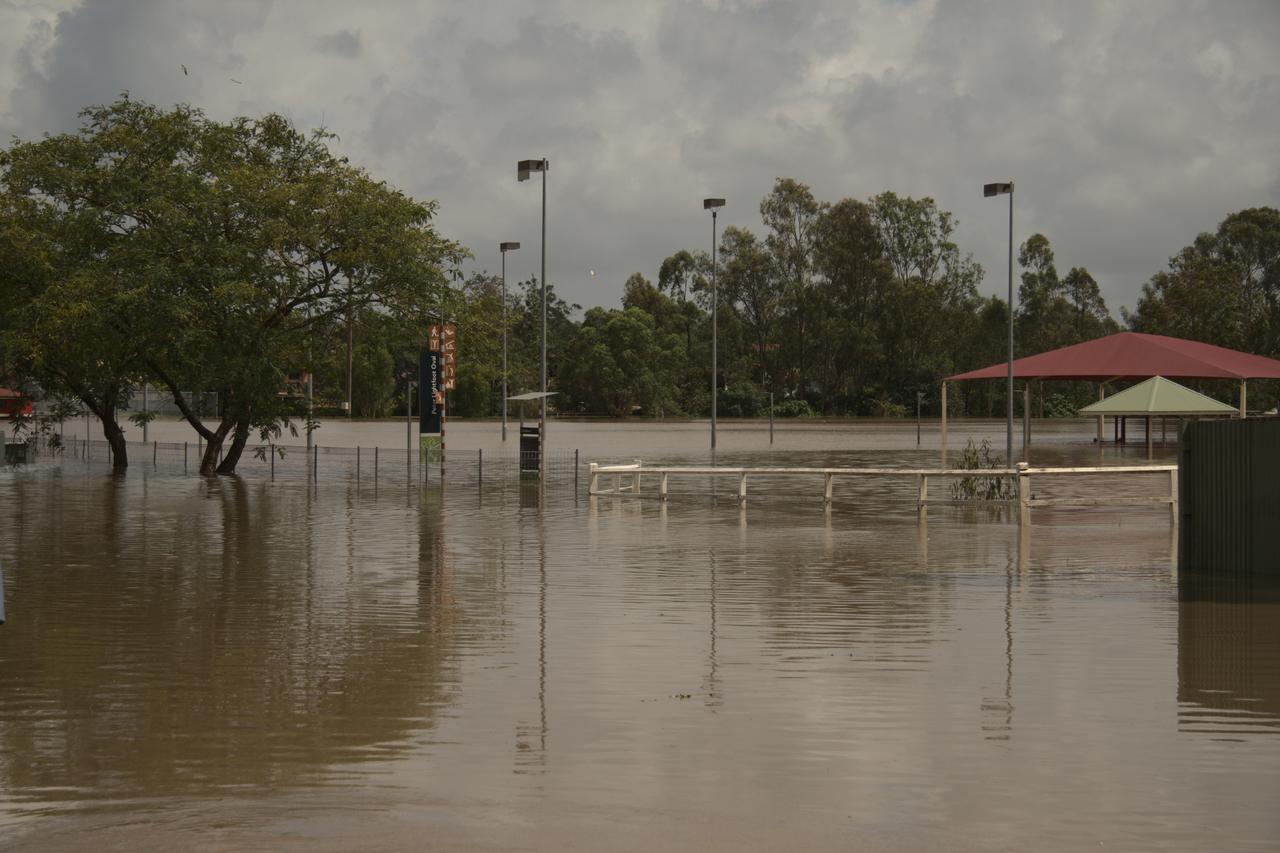
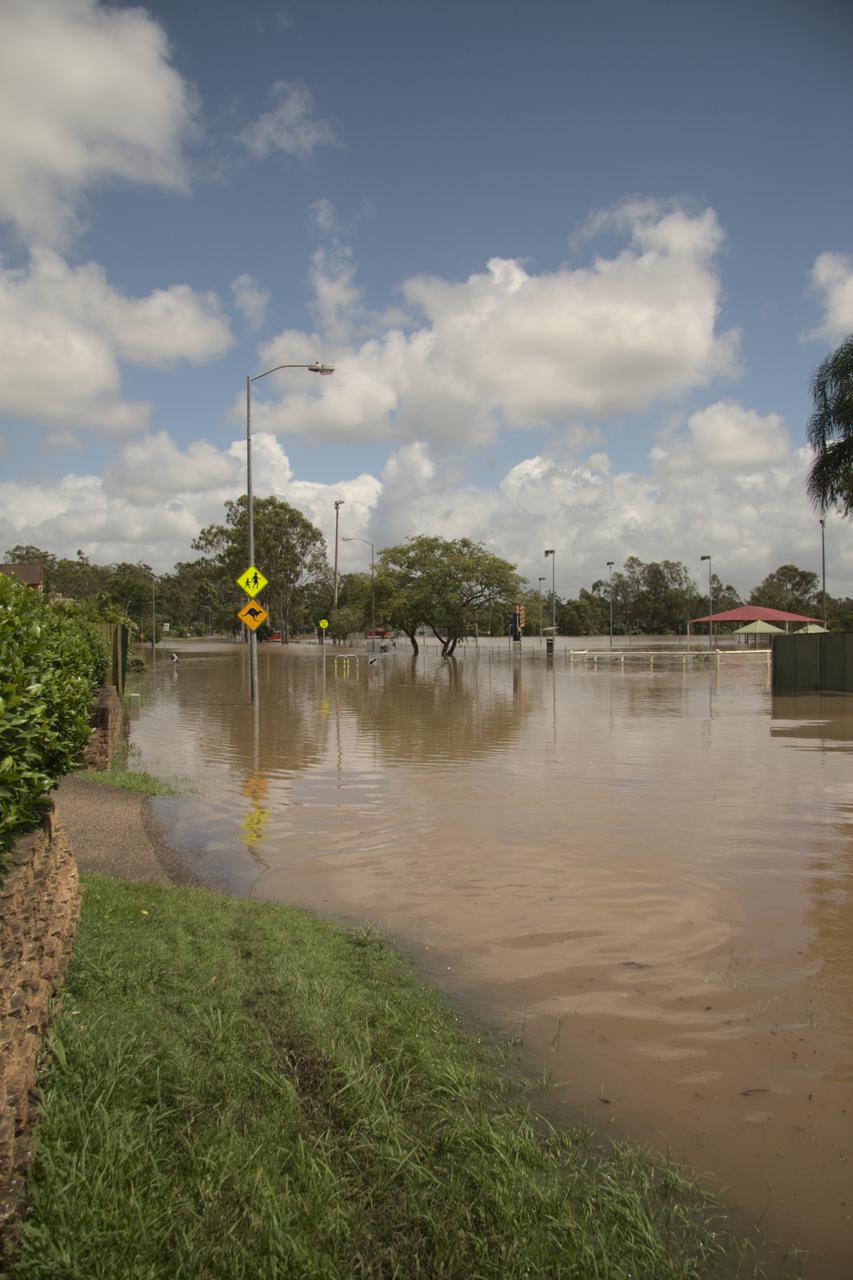
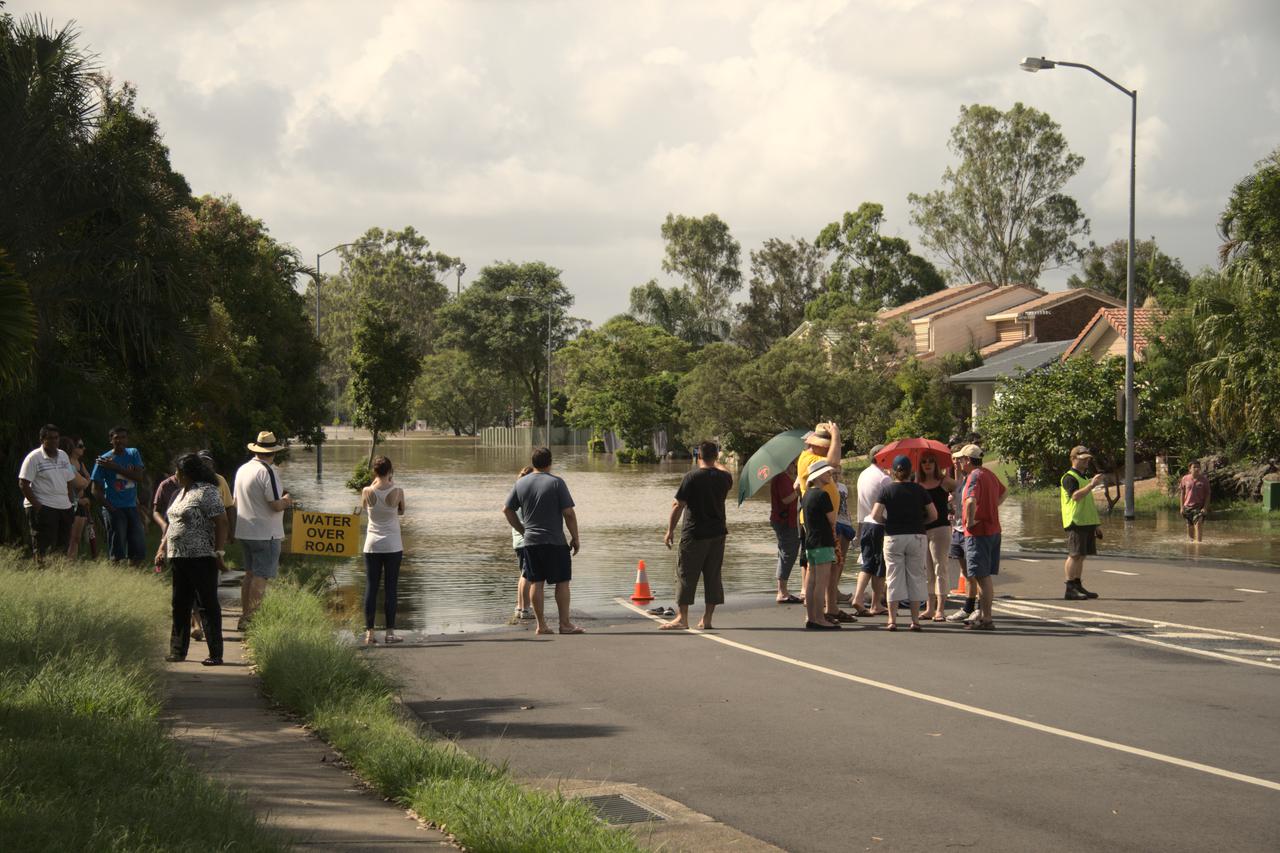
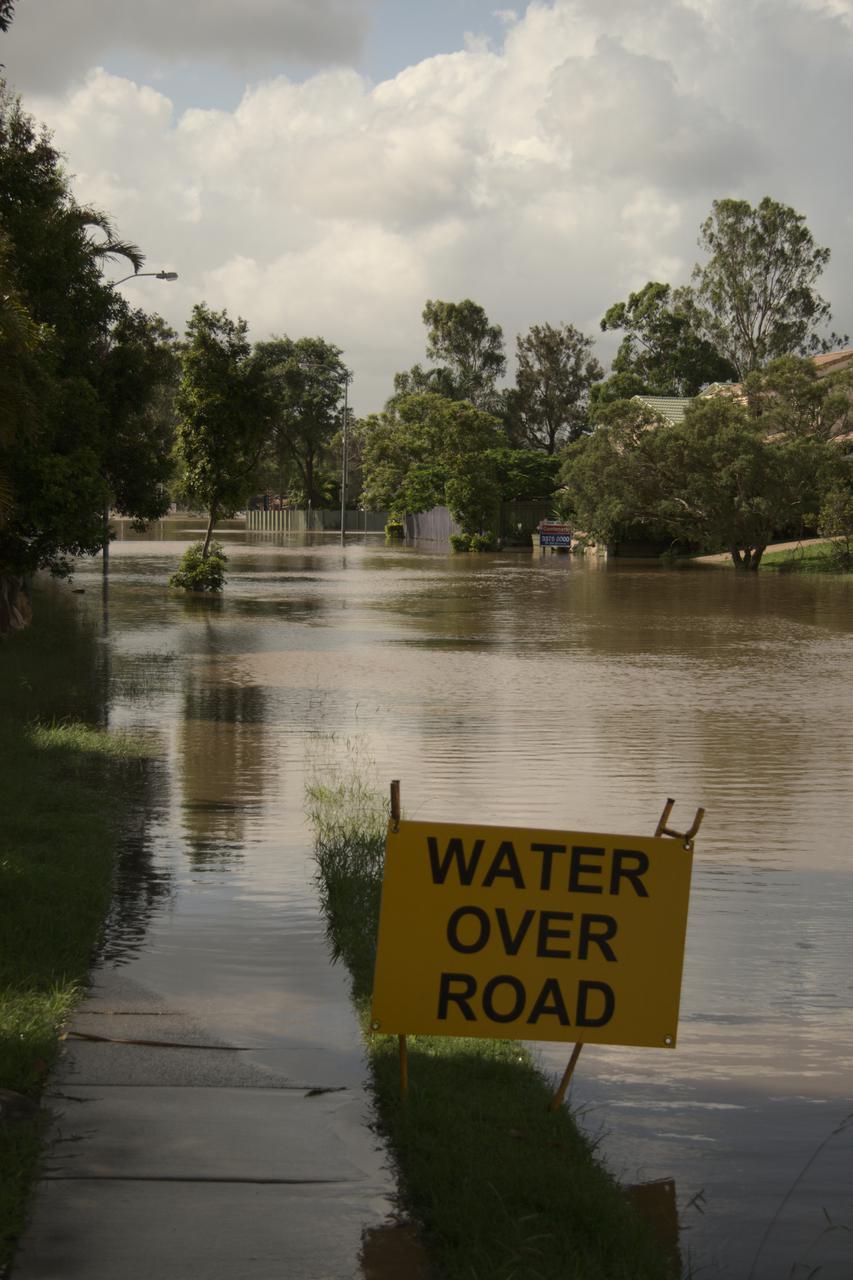
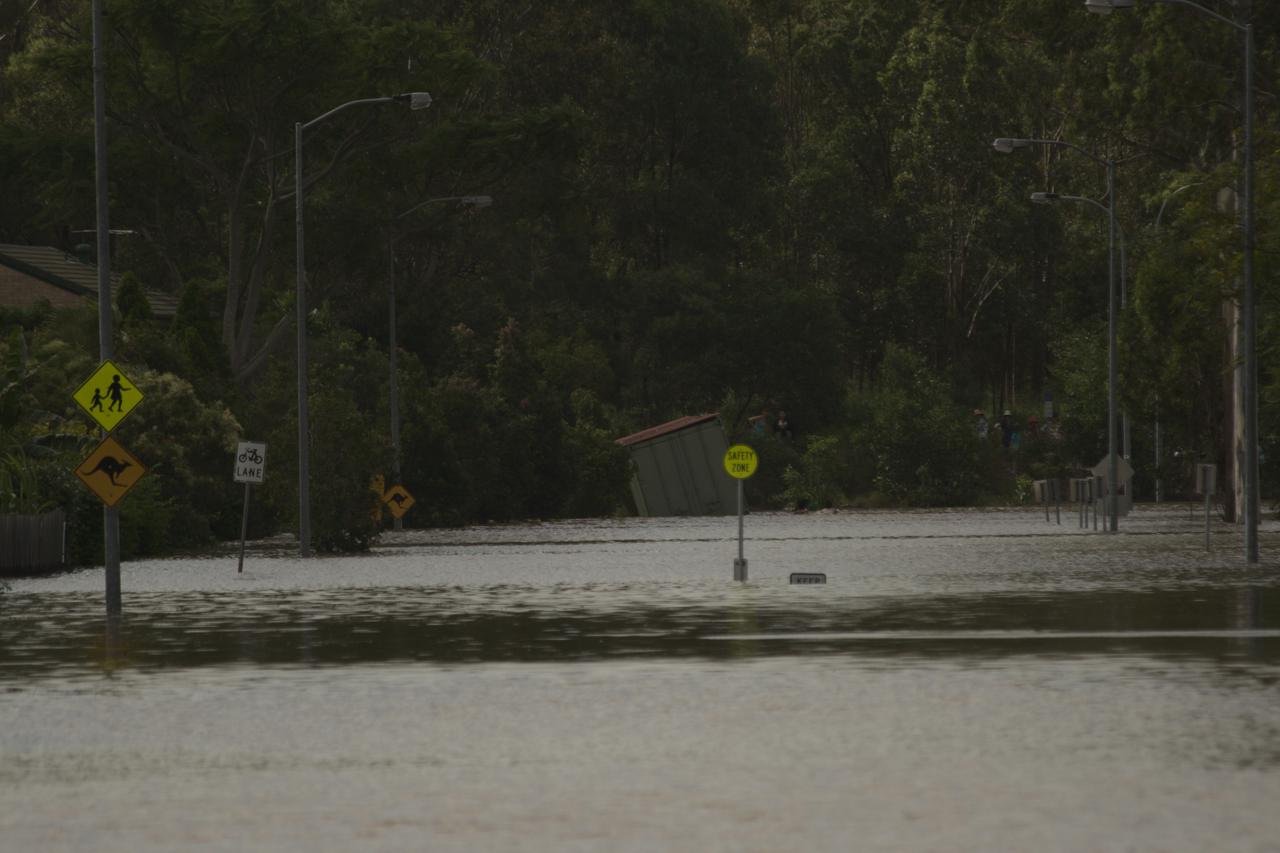
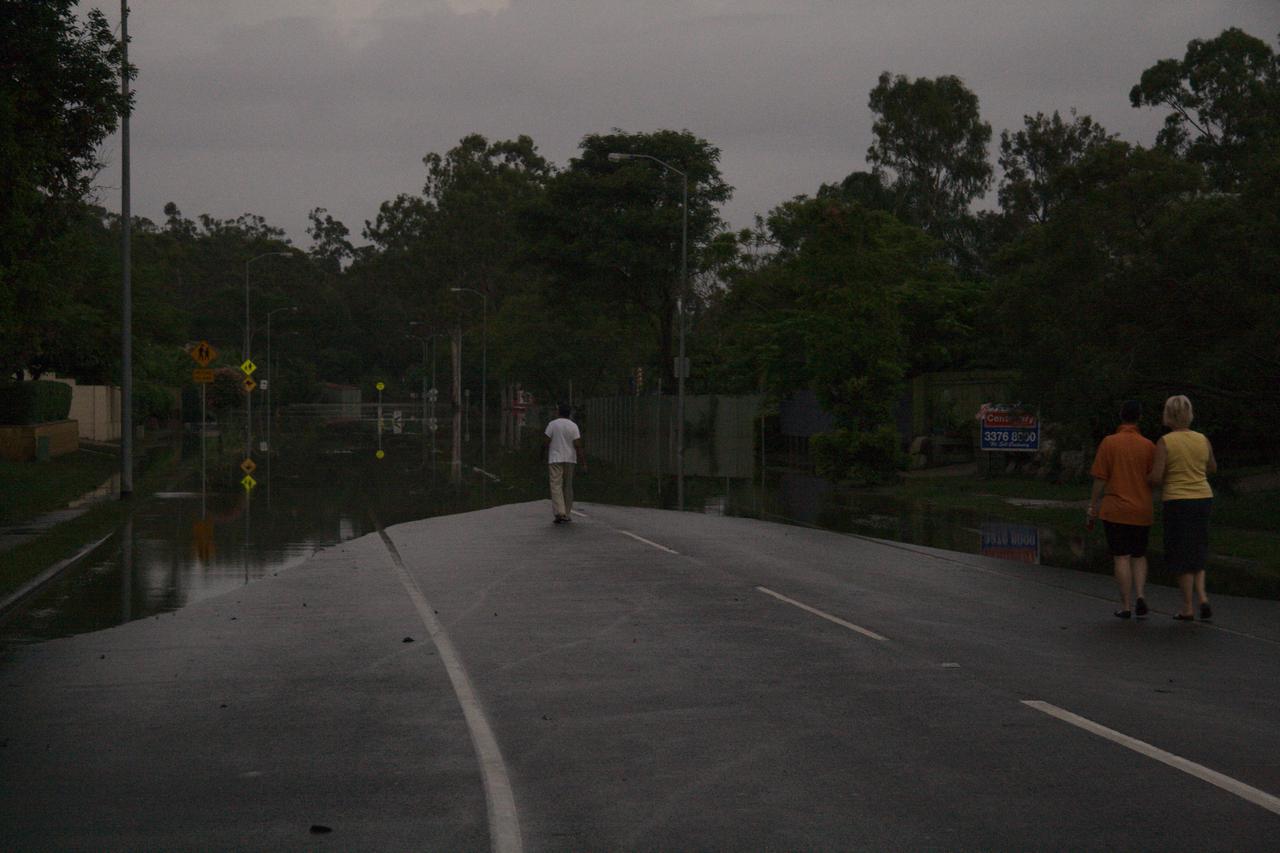
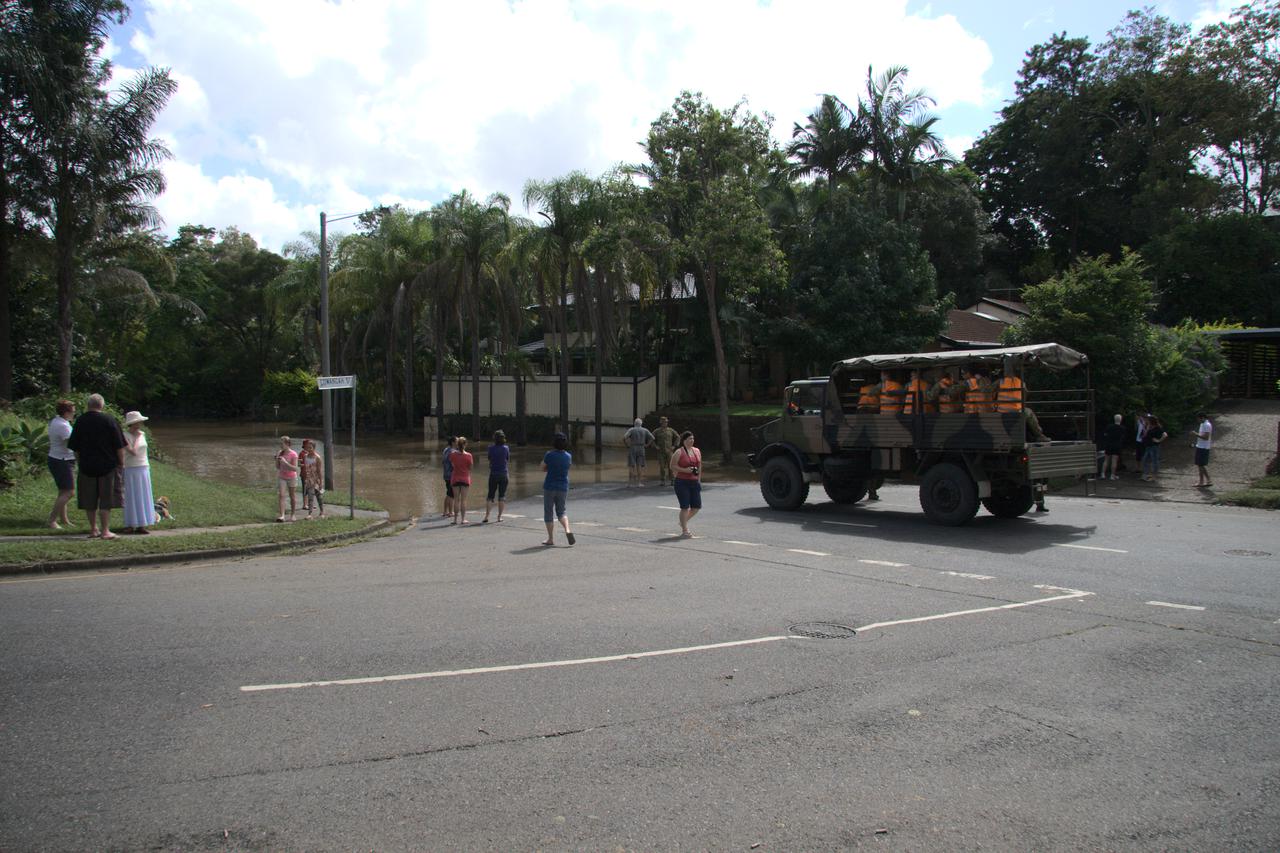
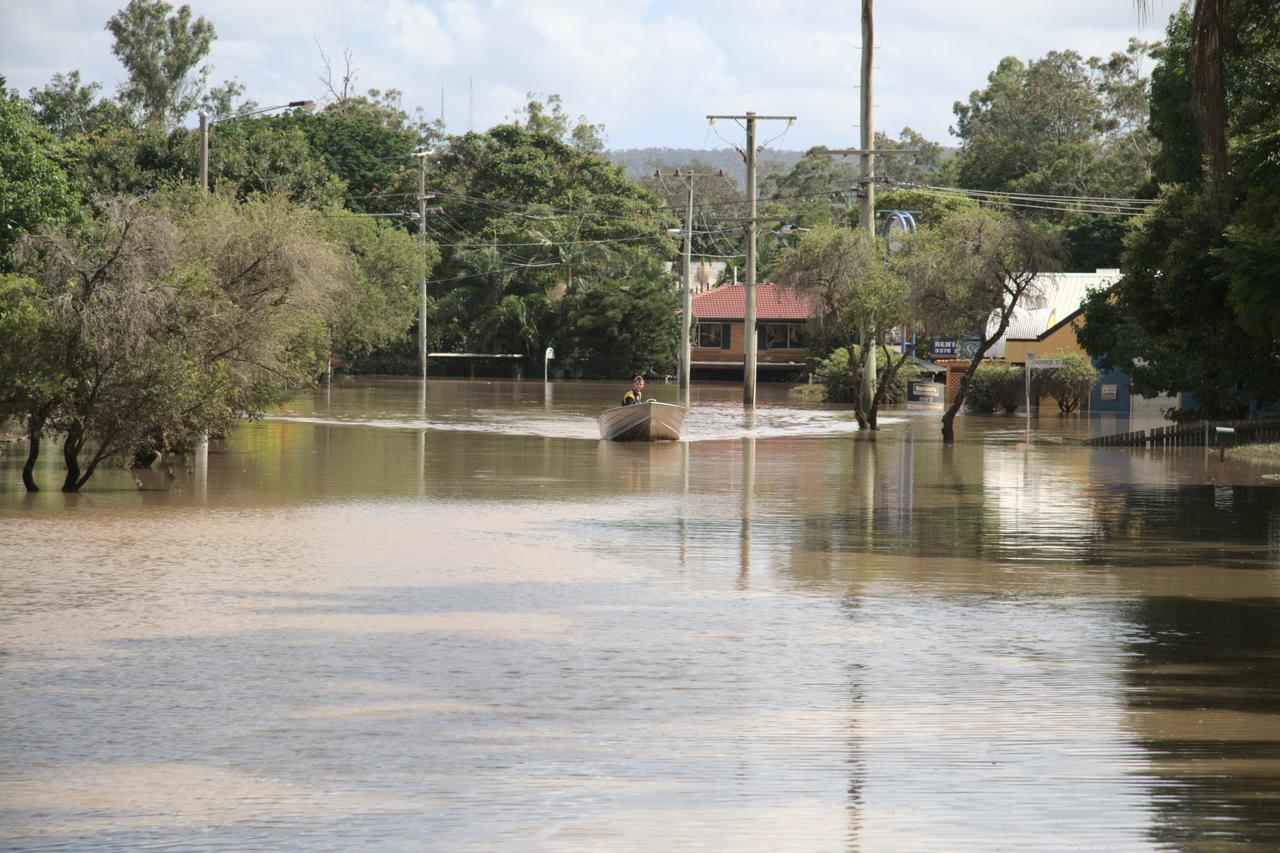
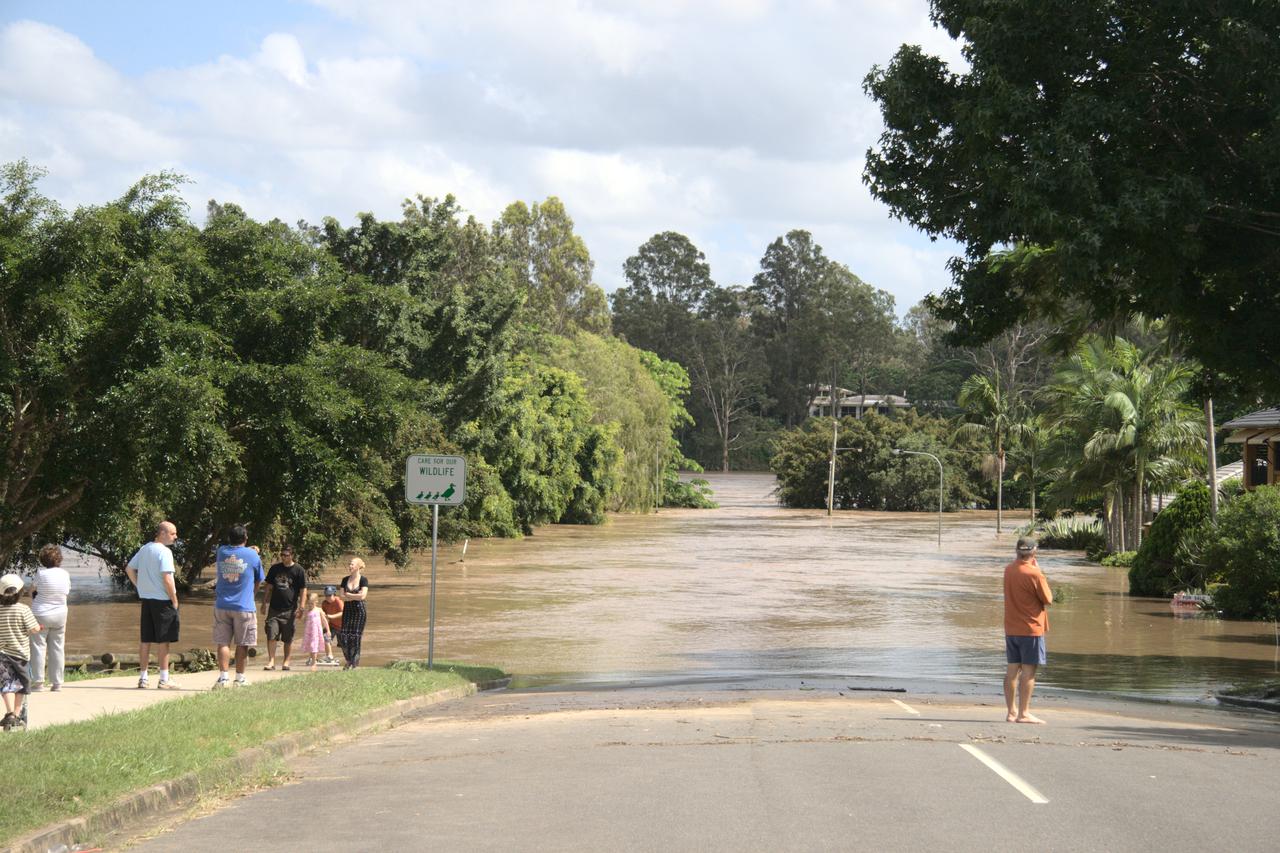
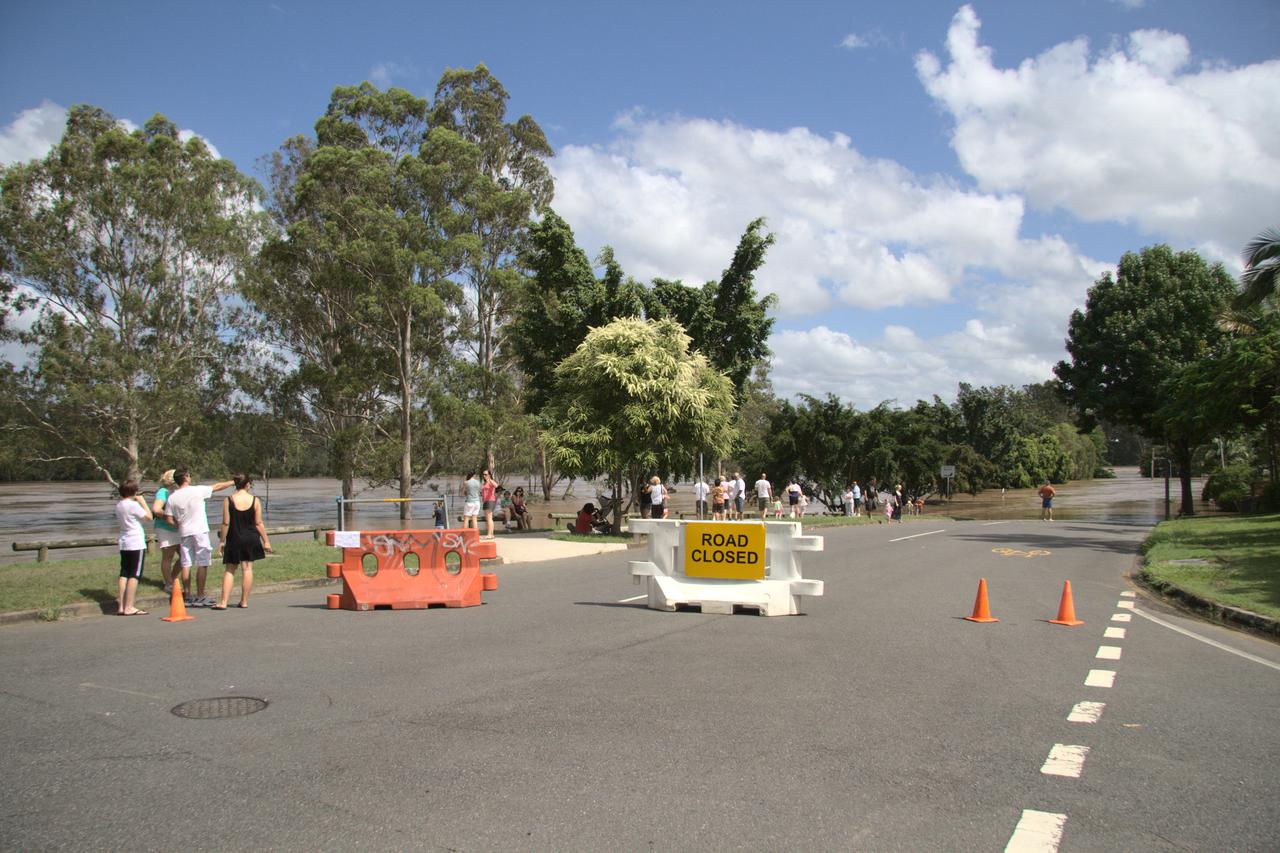
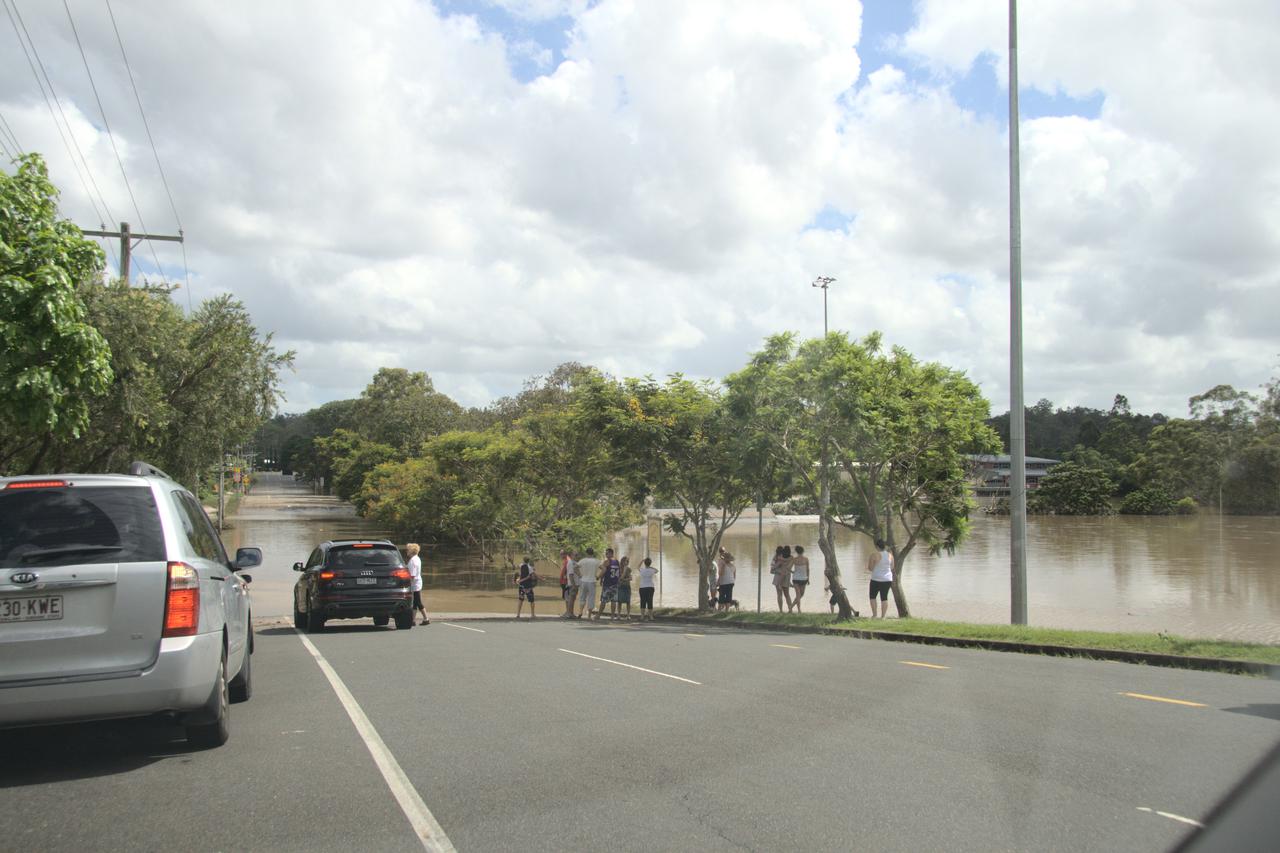
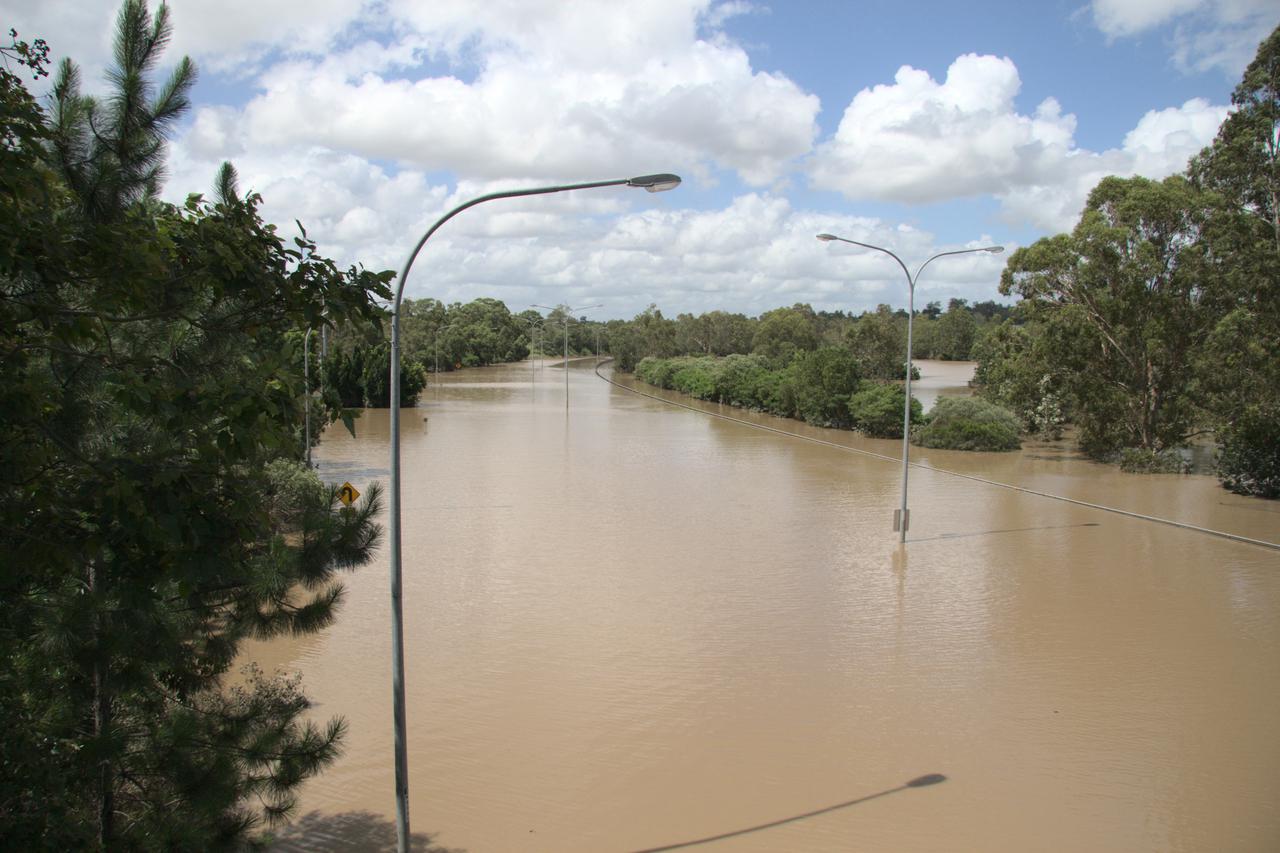
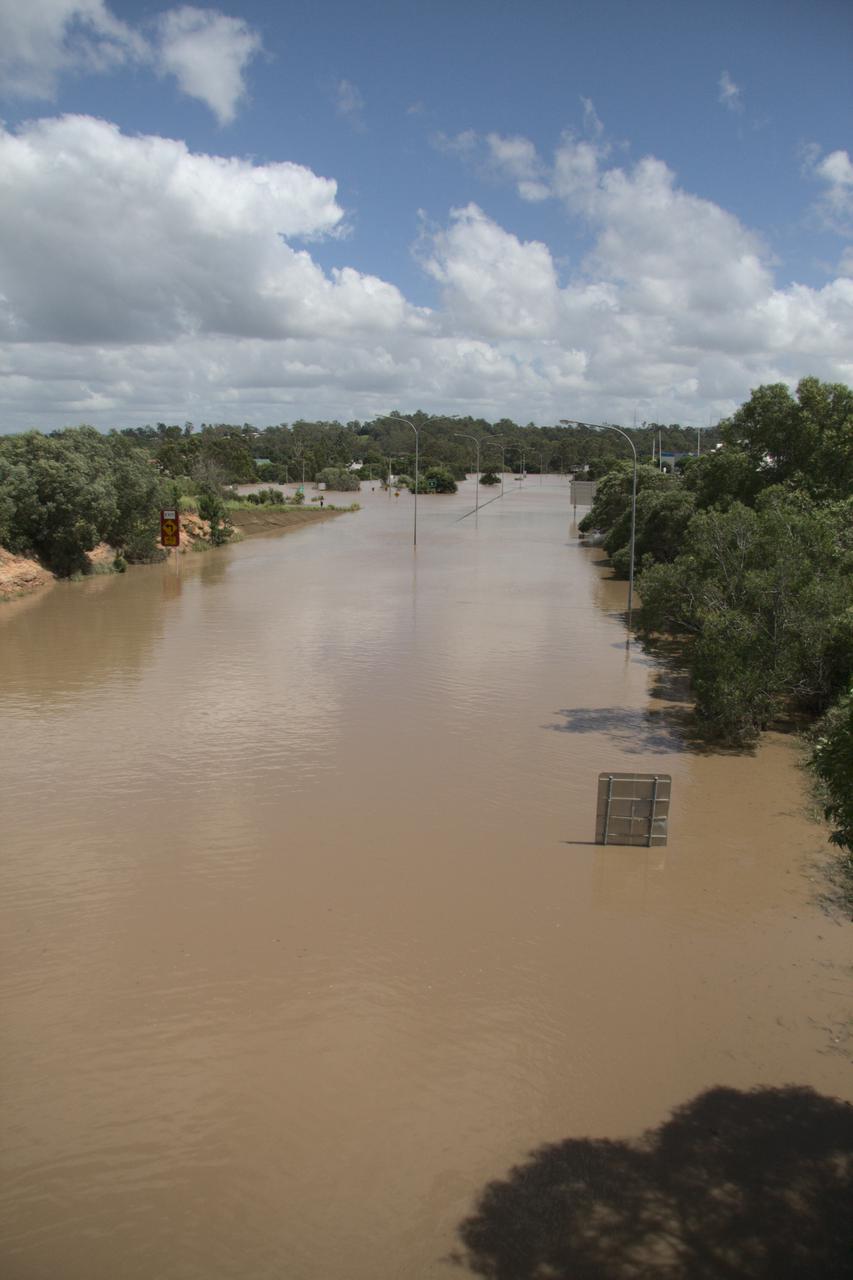
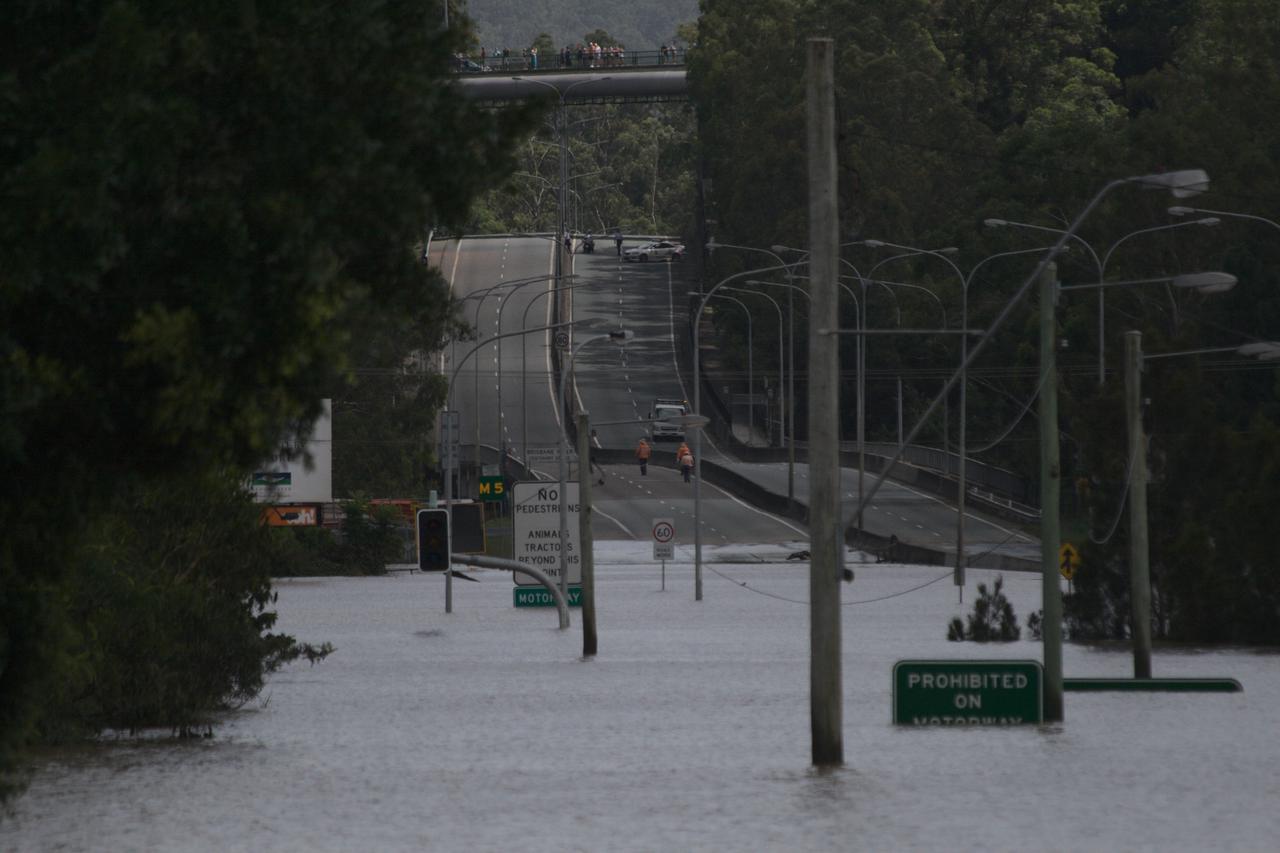
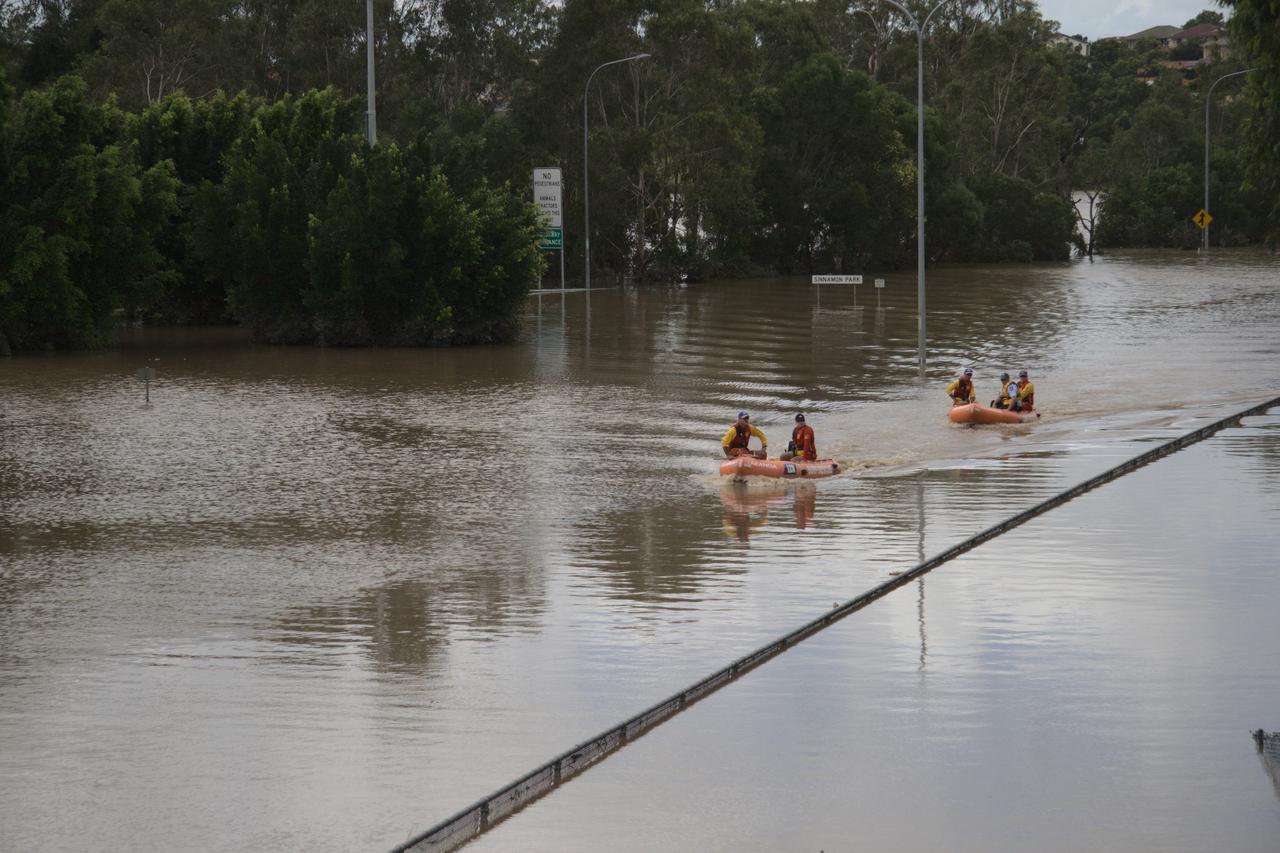
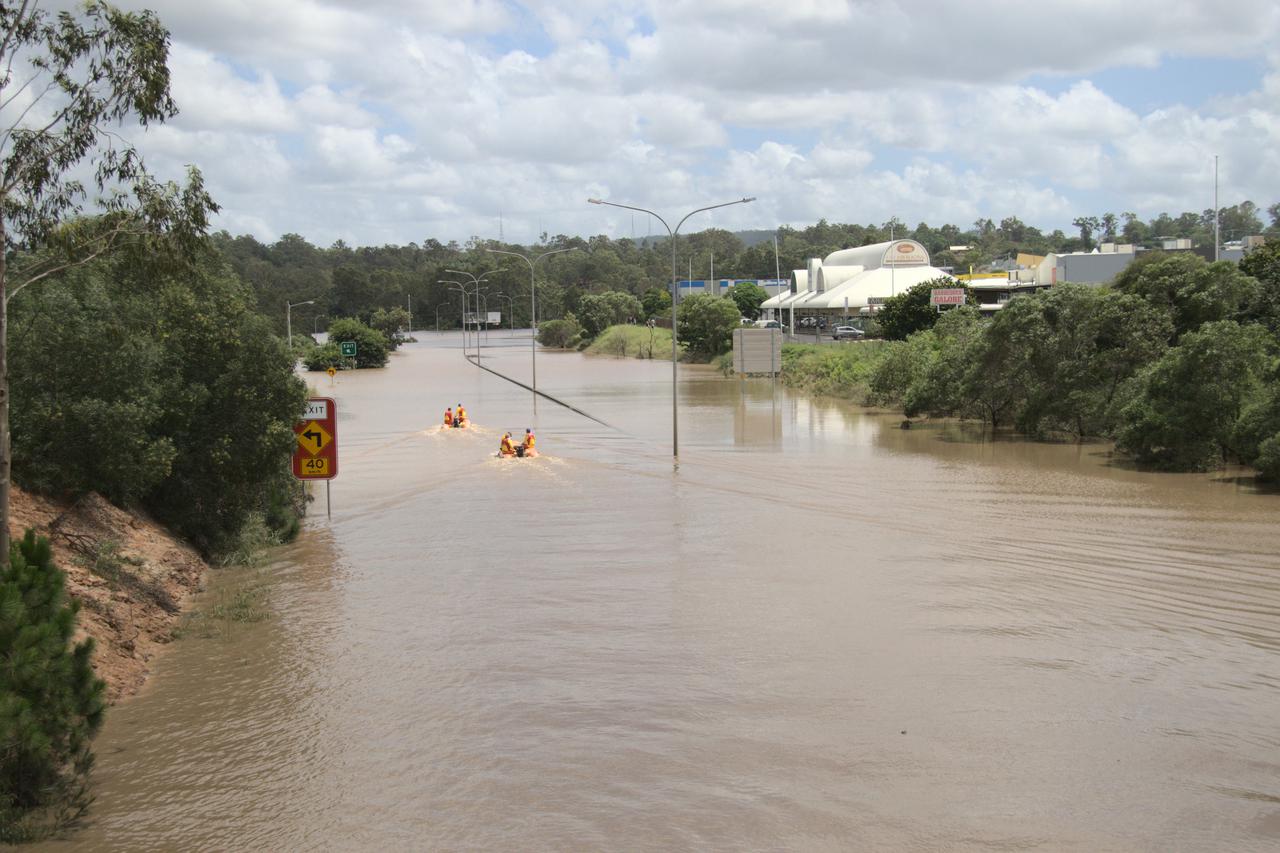
Overall, though, my riding has been uneven. At the start I was 93kg, lacking in motivation and when I did get on my bike it was an effort. February was starting to improve over January, but then we got rain for three solid weeks and the house flooded. Dealing with cleanup was much more important so I rarely got out. In April the weather started cooling down, which was appreciated, but in the last week we all came down with COVID19 and were knocked flat. I was off work for 2 weeks, and when I was back on deck there were days where I could only get through half before needing a long nap. I feel very fortunate that my employer has been very understanding of that.
You'll note in this yearly calendar panel
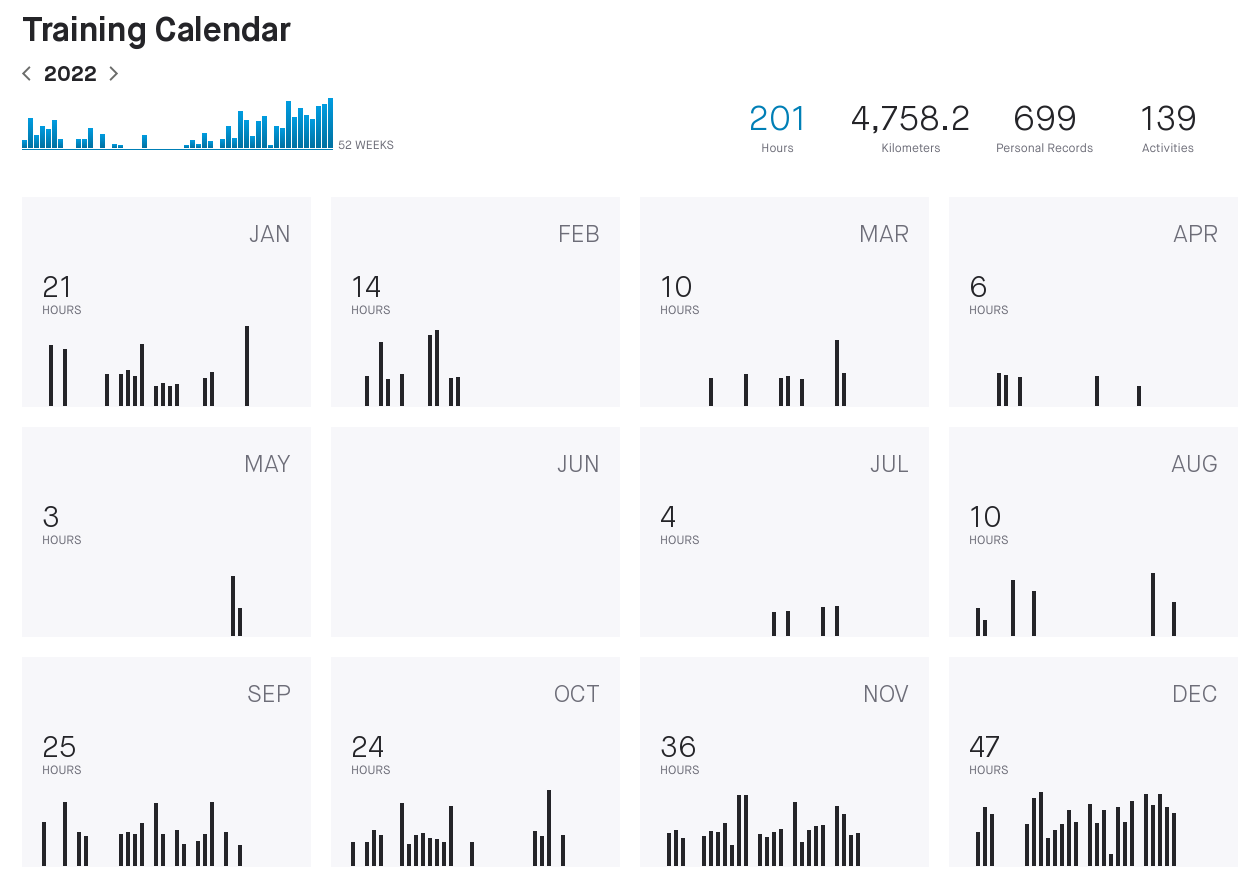
that there were two rides in May. I remember them vividly. All week I had been feeling better and better, and had planned on doing a relaxed River Loop. However when I got to the Jindalee bridge I realised I wouldn't be able to complete it, so just rode to the West End ferry terminal instead. Getting home from that (25km from there, usually an easy hour and 15) was a struggle. I managed to get out the following day for a few loops around Jindalee, but that was it, I was exhausted.
I couldn't get my head right for riding at all in June (I put on 3kg, too), and barely managed to get any rides in during July or August. My post-COVID recovery was accelerating though, and was helped by a conscious decision to try to hit a specific weight by my birthday in November.
J and I had also gone to see our counsellor and I noted that the massive layoffs (August 2017) I had somehow managed to survive were still rocking me and that I really, _really_ missed my friends. At that point I made a decision to finally go and see what the GBC bunch rides were like. My riding mates Shane and Adam had been with them for years and I kept seeing their bunch rides on Strava. So on the 30th of August I rocked up for my first ride.
The GBC "bunch" is made up of several different speed groups - a 34km/h (and faster), a 30-32km/h, 28-29km/h and a "lifestyle" of around 22km/h. I hoped I would be able to keep up with the 28-29 group, and was truly delighted that in fact I did keep up. The people in the group were also very welcoming and considerate, so I....... kept turning up.
I also decided that rather than driving to Darra station then catching the train in to the office ($work likes me to go in one day a week), I would ride in instead. We've got pretty good end-of-trip facilities - secure bike storage, and a towel service with very nice showering and changing facilities - so the only thing stopping me being a bike commuter is me. (Or if it's raining). The route is pretty flat (20km each way), the 2-2.5km through the CBD is generally ok - I've only had 2 too-close passes, and both appeared careless rather than deliberate. It's a great feeling to know that even though I'm spending around the same amount of time as if I drove and caught the train, I'm _exercising_ and outdoors and feeling the wind on my face.
I've also learned new routes from the bunch rides. One that we usually do on a Friday is Spinkbrae Street in Fig Tree Pocket, which is _steep_.
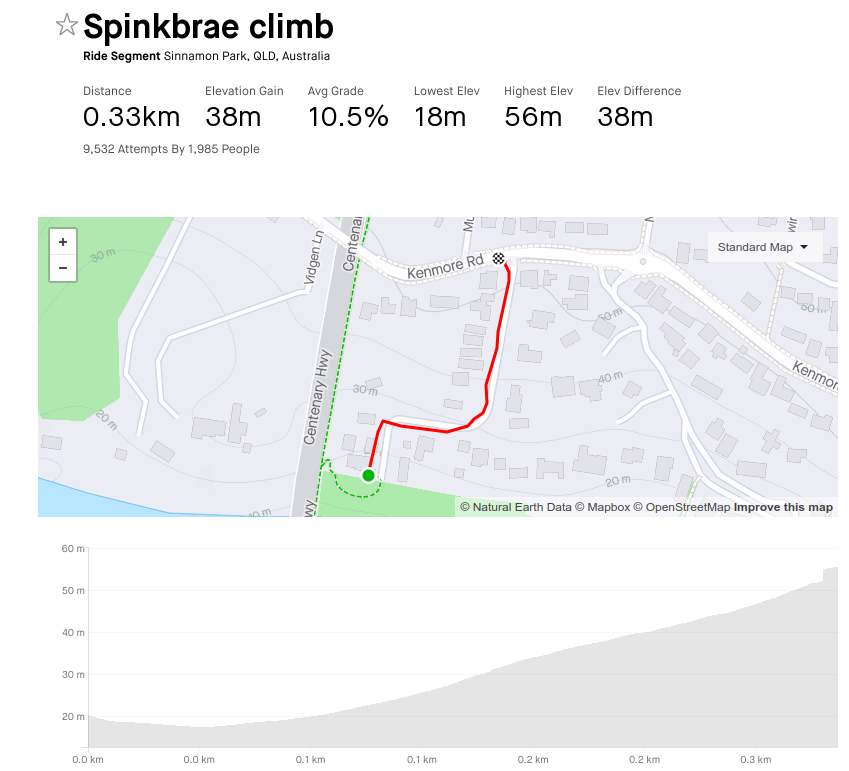
I can climb it in about 2 minutes, I'm still figuring out the cadence I need. The road surface is awful, too. Well past time for a re-do by the council.
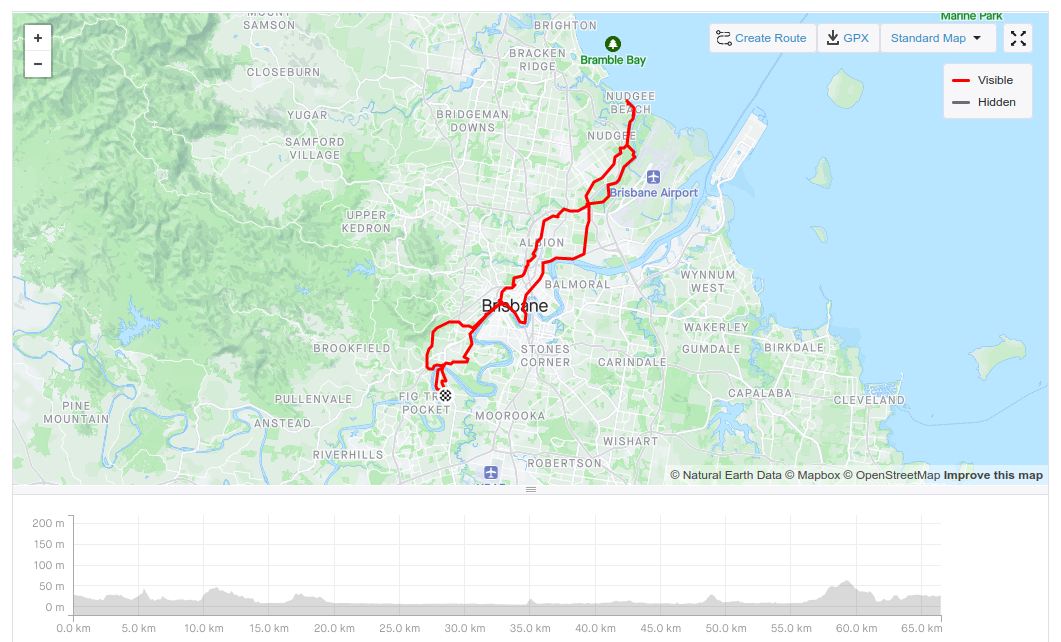
Another new route I've done is the ride out to Nudgee Beach, which was long and hot and took me to places I've always wanted to explore. Never having a guide to get there was the impediment, but I'm over that and look forward to doing it again.
As the year wound down I rode more. I decided that yes, I would in fact ride the Tour De Brisbane (medio) on 2 April 2023, that I would ride both Gap Creek and Coot-tha back segments before the end of the year, and that for 2023 my weekly distance goal is 200km rather than 150km. After all, I've been able to hit the 150km goal each week since mid-November, and it feels good to be able to do more.
I'm happy with what I've been able to accomplish through riding this year - made new friends, discovered new routes, lost weight (ending the year at 85kg) and improved my physical and mental health. I've got achievable goals lined up for next year and I'm looking forward to putting the effort in to achieving them.
All in all, not a bad year.

